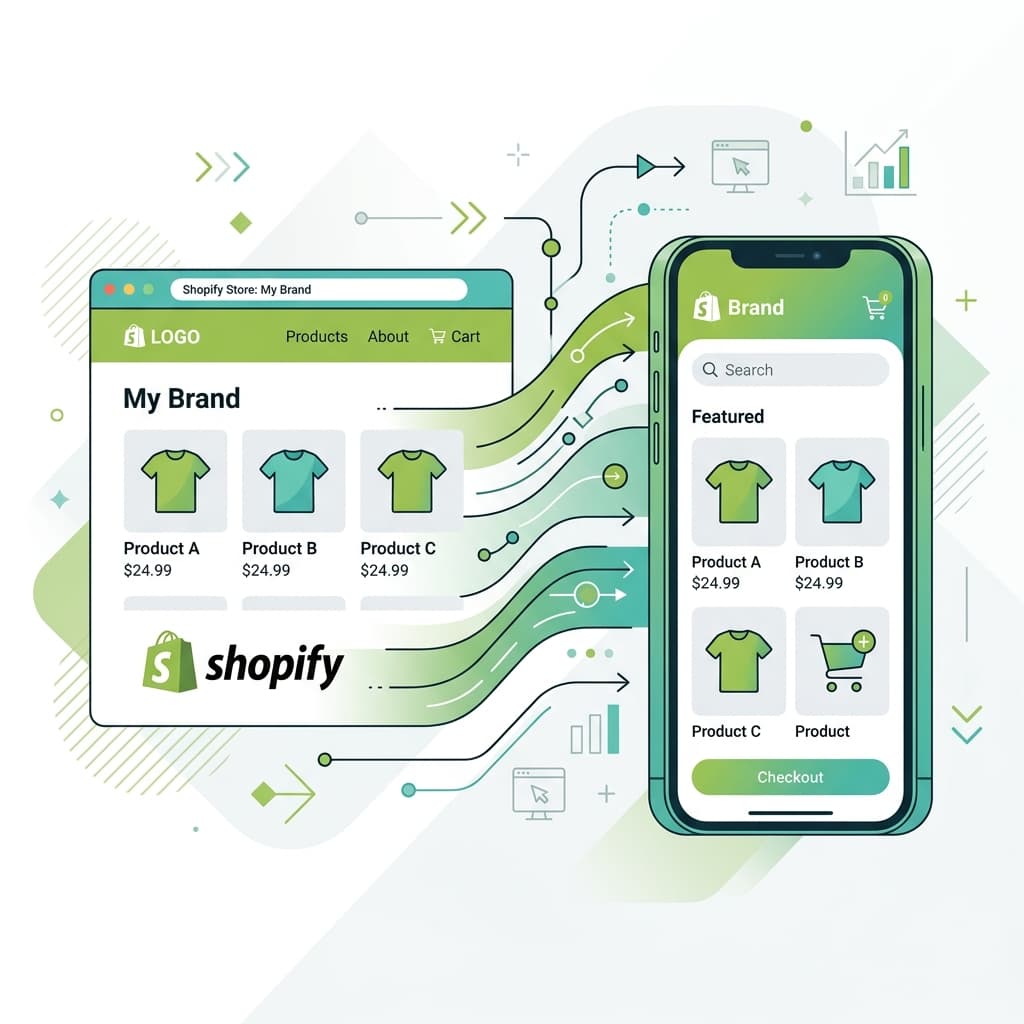
Why Turn Your Shopify Store into a Mobile App?
Updated April 27, 2026: We improved this guide with a tighter launch workflow, better pre-publish validation checklist, and clearer recommendations for reducing risk during App Store submission.
Most Shopify brands already have mobile traffic. The real growth challenge is repeat conversion, not just first visits. A native app helps close that gap with faster sessions, stronger retention loops, and direct re-engagement through push notifications.
Compared to mobile-web-only journeys, app users typically browse longer, return more often, and complete checkout with less friction. If your goal is higher LTV and better retention economics, launching a Shopify app becomes a strategic advantage, not just a design upgrade.
What You Need Before Starting
Before building your Shopify mobile app, ensure you have:
- An active Shopify store on any plan (Basic, Shopify, or Advanced)
- At least 10 published products with complete descriptions and images
- Your brand assets — Logo file, brand colors (hex codes), and app icon image (1024 by 1024 pixels)
- Apple Developer account (99 dollars per year) for iOS publishing
- Google Play Developer account (25 dollars one-time) for Android publishing
You do not need any coding experience, technical knowledge, or design skills.
Step-by-Step Guide
Step 1: Connect Your Shopify Store
There is no separate sign-up step any more — connecting the store creates the account. Pick whichever route you are already standing in front of:
- Paste your store URL into the box at the top of brewmyapp.io and approve the install
- Install BrewmyApp from the Shopify App Store directly
- Add it from your stores page if you already have another store connected
No credit card, and no API credentials to generate by hand. You can design and preview your app completely free before committing to a build.
Once connected, BrewmyApp automatically imports:
- Your complete product catalog with all images, descriptions, and pricing
- Product variants, options, and inventory levels
- Collections and categories
- Store settings including currency, language, and shipping zones
This process typically takes one to five minutes depending on your catalog size.
Step 2: Configure Your App Settings
Set up the foundational elements of your app:
- App name — Usually your store name. This appears on the home screen under your app icon and in the App Store and Google Play listings.
- App icon — Upload a 1024 by 1024 pixel image. This should be your logo on a solid background color. Avoid text-heavy icons as they are illegible at small sizes.
- Splash screen — The loading screen shown when the app first opens. Use your logo on your brand's primary color.
- Primary and accent colors — Match your Shopify theme's color scheme for brand consistency.
Step 3: Design Your Home Screen
The home screen is the most important screen in your app. Use the visual editor to arrange sections:
- Hero banner — A full-width promotional banner linking to your current sale or new collection. Update this regularly to keep the home screen fresh.
- Collection carousel — A horizontal row of your product collections with images. Customers tap to browse specific collections.
- Featured products — A grid of your bestselling or highest-margin products.
- Promotional cards — Secondary banners for specific offers, new arrivals, or seasonal content.
- New arrivals — The latest products added to your store.
Arrange these sections in the order that drives the most engagement. Hero banner first, followed by collections, then featured products.
Step 4: Configure Navigation
Set up your bottom tab bar with three to five tabs:
- Home — Your curated home screen
- Shop — Full product catalog with collection browsing
- Cart — Shopping cart with item count badge
- Account — Login, order history, wishlist, and settings
- Search (optional) — Dedicated search for stores with large catalogs
Step 5: Preview on Your Device
Before building, preview your app on your actual phone using BrewmyApp's preview feature. Test every aspect:
- Browse products and verify images and prices are correct
- Add items to cart and test the checkout flow
- Navigate between tabs and verify all sections load properly
- Check that your color scheme and branding look correct on a real device
- Test search functionality with different product queries
Make adjustments in the visual editor until everything meets your standards.
Step 6: Build Your App
When you are satisfied with the preview, initiate a build. BrewmyApp compiles native iOS and Android apps using React Native. The build process typically takes 15 to 30 minutes.
Step 7: Submit to App Stores
Once your build completes, you will receive downloadable app files ready for submission:
- iOS: An IPA file for submission to the Apple App Store via App Store Connect
- Android: An AAB file for submission to Google Play via the Google Play Console
BrewmyApp provides step-by-step guidance for the submission process, including recommended App Store descriptions, screenshot specifications, and metadata requirements.
Apple typically reviews apps within 24 to 48 hours. Google Play reviews usually complete within a few hours to one day.
For a detailed guide on the publishing process, see How to Publish Your Ecommerce App to the App Store and Google Play.
Step 8: Launch and Promote
Once your app is approved and live on the stores, drive downloads:
- Add a smart banner to your Shopify website prompting mobile visitors to download the app
- Send an email announcement to your customer list
- Post on social media with app download links
- Include QR codes in packaging inserts
- Offer an app-exclusive discount for first-time app purchases
Shopify-Specific Features
BrewmyApp's Shopify integration includes features specific to the Shopify ecosystem:
- Shopify Payments support — Native integration with Shopify's payment processing
- Discount codes — Full support for Shopify discount codes and automatic discounts
- Collection-based navigation — Your Shopify collections map directly to app categories
- Variant handling — Size, color, and custom options with variant-specific images
- Inventory tracking — Real-time sync with Shopify's inventory management
- Multi-location inventory — Support for Shopify's multi-location fulfillment
- Customer accounts — Login with existing Shopify customer credentials
Timeline and Costs
Timeline
- Account setup and store connection: 15 minutes
- App design and customization: 1 to 4 hours
- Preview and testing: 30 minutes to 1 hour
- Build: 15 to 30 minutes
- App Store review: 1 to 3 days
- Total: Your app can be live within a week
Costs
- BrewmyApp subscription: See current pricing
- Apple Developer account: 99 dollars per year
- Google Play Developer account: 25 dollars one-time
- No development costs, no per-transaction fees, no hidden charges
Compare this to custom app development costs of 30,000 to 200,000 dollars.
Common Questions
Will my Shopify theme affect the app?
No. Your app is independent of your Shopify theme. The app pulls product data, collections, and order information through the Shopify API. The visual design is controlled entirely through BrewmyApp's editor.
What happens when I add new products?
New products added to your Shopify store automatically appear in your app through real-time sync. No manual updates needed.
Can I keep my existing Shopify apps and plugins?
Yes. Your Shopify store continues to function exactly as before. The mobile app is an additional sales channel that works alongside your existing setup.
Do I need to manage two inventories?
No. Your Shopify inventory is the single source of truth. The mobile app reads and writes to the same inventory, so stock levels are always synchronized across all channels.
Who Should Launch a Shopify App Right Now?
You should prioritize launching if any of these are true:
- Mobile traffic is high but repeat purchase rate is flat
- Cart abandonment on mobile is noticeably higher than desktop
- You run frequent campaigns and need a stronger re-engagement channel
- You want to reduce dependency on paid retargeting through push-based retention
You can delay app launch if your store is very early stage and still validating core demand. In that case, focus first on product-market fit and baseline mobile conversion.
Connecting your store to BrewmyApp
Three ways to connect your store
You do not create an account first. Every route below signs you up and connects the store in the same step.
- From the BrewmyApp homepage. Paste your store URL into the box at the top of brewmyapp.io, approve the install, and you land in the designer with your products already synced.
- From the Shopify App Store. Install BrewmyApp directly from Shopify. The install itself creates your account and links the store — nothing to fill in afterwards.
- From the dashboard. Already have a store connected and want to add another? Add it from your stores page.
Whichever you pick, products, collections, variants, and inventory sync automatically. There is no CSV export and no API key to paste.
Building and publishing the app
Builds run on Expo's EAS infrastructure, so nothing compiles on your machine:
- Connect an Expo account. Free to create at expo.dev; the dashboard walks you through linking it.
- Pick your target. Android APK for side-loading and testing, Android AAB for Google Play, iOS IPA for the App Store, or both at once. iPad support is a checkbox.
- Choose the app language. Thirteen locales ship built in — English, Spanish, French, German, Portuguese, Italian, Dutch, Hindi, Arabic, Japanese, Chinese, Romanian, and Turkish.
- Build. You watch the EAS log stream in the dashboard and get the artifact when it finishes.
- Submit. Turn on auto-submit and the build goes to App Store Connect or Google Play on completion, or download the artifact and upload it yourself.
iOS publishing needs an Apple Developer Program membership ($99/year). After the first build, most changes — layout, colours, banners, product arrangement — ship over the air, so your users get them without a new store review.
BrewmyApp is $49/month or $499/year per store. Designing your app and previewing it on a real device is free — you pay when you build and publish. The app stores charge separately: Apple's Developer Program is $99/year and Google Play is a one-time $25 fee.
Get Started Now
Create your free account and see your Shopify store as a mobile app in minutes.
Related reads:
- The Real Cost of Building a Shopify Mobile App
- 10 Signs Your Shopify Store Needs a Mobile App
- Best Shopify Mobile App Builders Compared
- Shopify Push Notifications for Sales and Retention
- Reduce Cart Abandonment with a Shopify Mobile App
- Shopify App Builder vs Custom Development
- Shopify Mobile App Pricing Comparison
- Best Tapcart Alternative in 2026
- Best Vajro Alternative in 2026
- Best Plobal Alternative in 2026
Ready to Turn Your Store into a Mobile App?
Design and preview your app for free. No coding required.
Start Building for Free