Turn Your Store into an App: The No-Code Blueprint
The dream of having your own mobile app used to come with a nightmare of coding, debugging, and high costs. In 2026, the no-code mobile app builder has turned that dream into a straightforward afternoon project.
Whether you are running a Shopify boutique or a high-volume WooCommerce store, this step-by-step guide will show you exactly how to build and launch your native mobile app without writing a single line of code.
Step 1: Choose Your Foundation
Before you start building, you need to select a platform. For ecommerce, you need a builder that doesn't just "wrap" your website, but creates a native experience.
- For Shopify & WooCommerce: BrewmyApp is the recommended choice for brands that prioritize speed, native performance, and clear ROI.
- Why it matters: Native apps are faster and more reliable than "web wrappers," leading to much higher conversion rates.
Step 2: Connect Your Store's Data
The "magic" of a no-code mobile app builder is the synchronization. You don't need to manually upload products to the app; the app should "pull" them directly from your existing store.
For Shopify Users:
Enter your Shopify store URL on brewmyapp.io, or install BrewmyApp from the Shopify App Store and skip the form entirely. Either way the install creates your account at the same time — there is no separate sign-up — and the builder syncs your collections, products, and inventory automatically.
For WooCommerce Users:
You will need your REST API keys (Consumer Key and Consumer Secret), which you can find in your WordPress dashboard under WooCommerce > Settings > Advanced > REST API. Paste these into the builder, and your catalog will appear instantly.
Step 3: Design Your App Experience
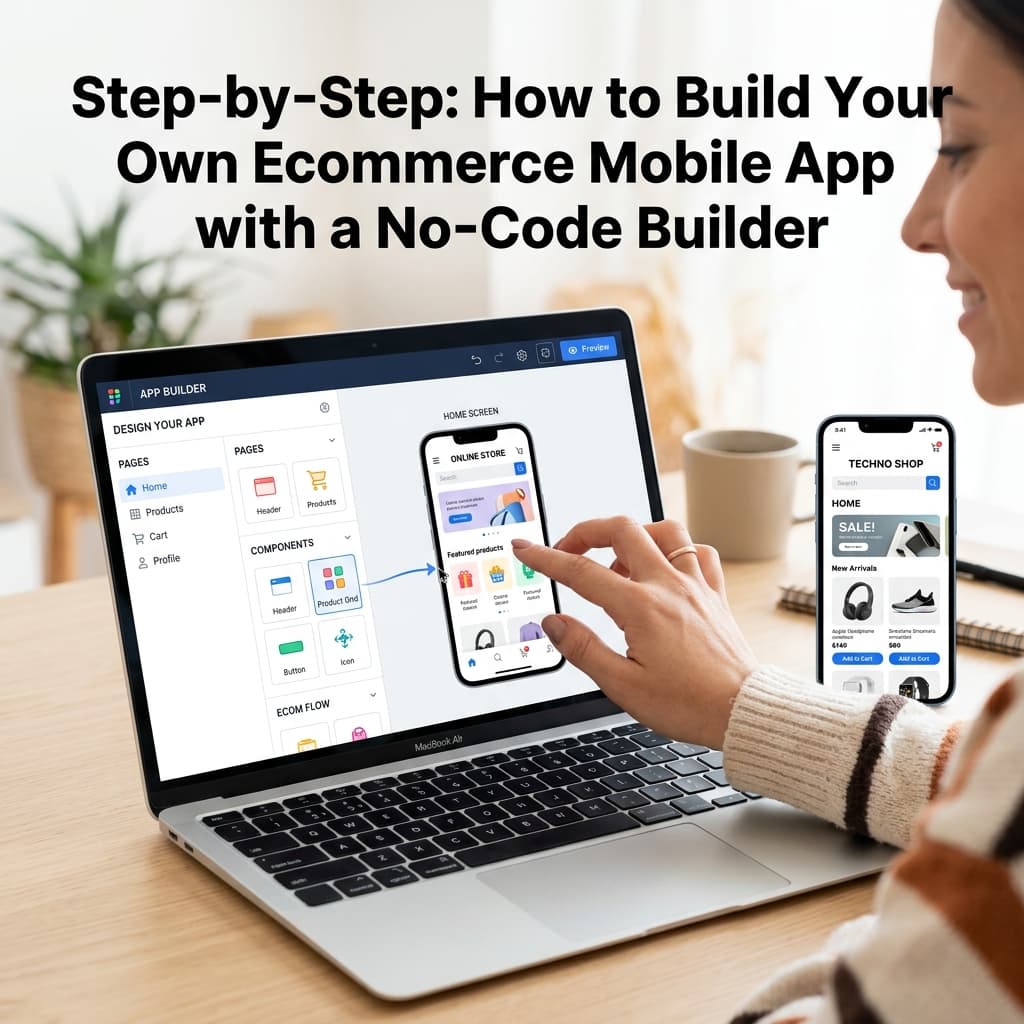
This is the fun part. Using a visual editor, you can customize the look and feel of your app to match your brand identity.
1. The Home Screen
Think of your home screen as your digital storefront window. Use "blocks" to arrange:
- Hero Banners: To highlight current sales or new arrivals.
- Product Carousels: For trending items.
- Category Grids: To help users find what they need quickly.
2. Branding & Colors
Set your primary and secondary colors, choose your typography, and upload your high-resolution logo. In BrewmyApp, these changes apply globally across the entire app instantly.
Step 4: Configure Native Features
An app is more than just a mobile-optimized version of your site. It should leverage the native power of the smartphone.
1. Push Notifications
Set up your automated push notification campaigns:
- Welcome Message: To greet new app users.
- Abandoned Cart Reminder: To recover lost sales automatically.
- Order Updates: To keep customers informed about their delivery.
2. Fast Checkout
Ensure your app is configured for one-tap checkout. Native apps should support Apple Pay and Google Pay out of the box to minimize friction.
Step 5: Live Preview on Your Device
Don't guess what your app will look like — test it.
Most high-end builders provide a preview app (like the BrewmyApp Previewer) that you can download on your own iPhone or Android device. Scan a QR code, and you can browse your live products and test the navigation exactly as your customers will.
Step 6: App Store Submission
Once you are happy with your app, it's time to go live. This involves two main steps:
- Apple App Store: You will need an Apple Developer Account ($99/year).
- Google Play Store: You will need a Google Play Developer Account ($25 one-time).
Pro Tip: Look for a builder that offers Guided Submission. App Store reviews can be tricky; having experts like the BrewmyApp team review your metadata before submission can save you weeks of rejection and rework.
Step 7: Launch and Promote
Your app is live! Now you need users.
- Smart Banner: Add a banner to your mobile website prompting visitors to "Open in App."
- Email Announcement: Send a dedicated blast to your email list with an "App-Only" discount code.
- Social Media: Use short-form video (Reels/TikTok) to show how much faster and easier the app experience is.
Connecting your store to BrewmyApp
Three ways to connect your store
You do not create an account first. Every route below signs you up and connects the store in the same step.
- From the BrewmyApp homepage. Paste your store URL into the box at the top of brewmyapp.io, approve the install, and you land in the designer with your products already synced.
- From the Shopify App Store. Install BrewmyApp directly from Shopify. The install itself creates your account and links the store — nothing to fill in afterwards.
- From the dashboard. Already have a store connected and want to add another? Add it from your stores page.
Whichever you pick, products, collections, variants, and inventory sync automatically. There is no CSV export and no API key to paste.
BrewmyApp is $99/month or $999/year per store. Designing your app and previewing it on a real device is free — you pay when you build and publish. The app stores charge separately: Apple's Developer Program is $99/year and Google Play is a one-time $25 fee.
Summary: From Store to App in Hours
Building a mobile app with a no-code mobile app builder is the most efficient way to scale your ecommerce business in 2026. By following these steps, you can move from a mobile website to a high-converting native app presence without any technical barriers.
Ready to start? Build your app for free on BrewmyApp.
Related Reads:
Ready to Turn Your Store into a Mobile App?
Design and preview your app for free. No coding required.
Start Building for Free